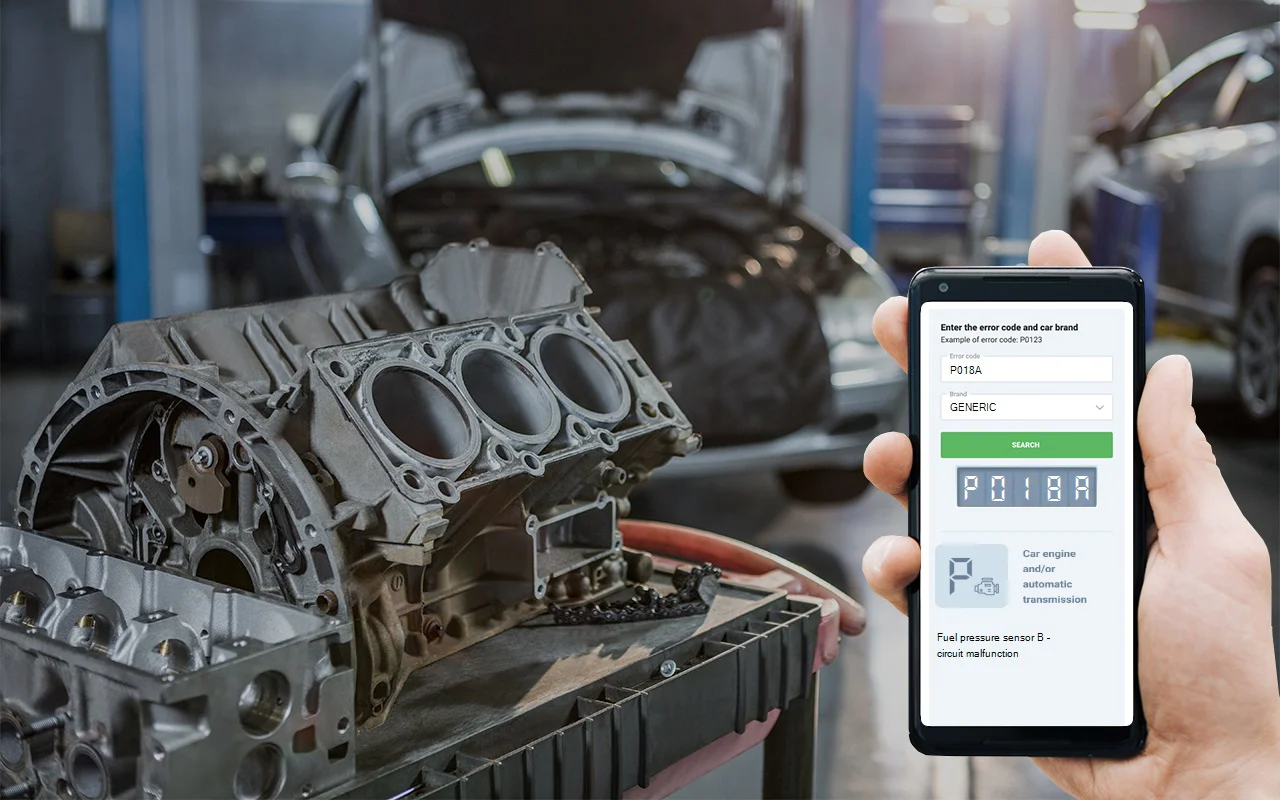
P018A is one of those diagnostic trouble codes that comes up when your car’s computer-what we call the PCM-spots an issue with the fuel pressure sensor circuit. Now, from my time in the shop, I can tell you this sensor is essential for making sure your engine gets just the right amount of fuel. You’ll find it on practically every modern vehicle out there-Ford, Chevy, Toyota, Chrysler, you name it. The fuel pressure sensor (FPS) sits on the fuel rail or line, measuring pressure and feeding that info back to the PCM. The computer then adjusts the fuel pump or injectors as needed. When you get this code, it’s the PCM’s way of saying, ‘Hey, something’s not quite right electrically with this circuit.’ That doesn’t always mean the sensor itself is toast-it could be the wiring, a connector, or just a loose connection. The ‘B’ in P018A points to a specific spot in the circuit, not just a general sensor glitch. You might also run across related codes like P018B, P018C, P018D, or P018E, which all deal with similar issues in the fuel pressure sensor circuit.
DTC P018A
Causes of obd2 code P018A
From experience, the most common reasons I see for a P018A code are:
- A faulty fuel pressure sensor-these do wear out or fail.
- Problems with the wiring harness-think frayed wires, loose connections, or corrosion at the connectors.
- Issues with the fuel delivery system itself, like a weak fuel pump or clogged filter, though that's less common for this code specifically.
- In rare cases, a problem with the PCM (the car’s main computer), but honestly, that’s pretty unusual. Most of the time, it’s something simpler.
I recommend starting with the sensor and wiring before jumping to any big conclusions.
Symptoms of obd code P018A
When this code shows up, here’s what you’re likely to notice:
- The check engine light will definitely come on.
- You might have trouble starting the car, or it might not start at all.
- Engine performance can take a hit-rough running, hesitation, or even stalling.
- Sometimes, you won’t feel anything at all except for that warning light, but it’s not something to ignore.
From what I’ve seen, drivability issues can range from mild to severe, depending on how bad the problem is.

Diagnosis and troubleshooting of P018A
Let me walk you through how I usually track down a P018A code in the shop:
- Start with a good old-fashioned visual inspection. Pop the hood and get your hands on the fuel pressure sensor and its wiring. Look for anything out of place-loose plugs, torn wires, or greenish corrosion on the connectors. Sometimes, a simple wiggle or cleaning is all it takes.
- If everything looks decent, grab a digital multimeter. With the ignition switched on, check for a 5-volt reference at the sensor. If you’re not seeing voltage, you might have a broken wire or a bigger issue with the PCM, but don’t assume the worst just yet.
- Next up, test the ground circuit. Turn the ignition off, set your meter to ohms, and make sure there’s a solid ground between the sensor and the chassis. No continuity? You’ve likely got a broken or corroded wire somewhere along the line.
- Check the signal return wire back to the PCM for continuity as well. Again, if you’re missing continuity, chase down that wire and look for breaks or damage.
- If the wiring passes all those checks, it’s time to get a little more involved. Hook up a mechanical fuel pressure gauge and compare the reading to what your scan tool says the sensor is reporting. If those numbers are way off, there’s a good chance the sensor itself is bad.
- Now, if both the mechanical gauge and the scan tool readings are low, you might be dealing with a weak pump or a clogged filter instead of a sensor issue.
Don’t be afraid to ask for help if electrical diagnostics aren’t your strong suit. And always double-check your steps before you swap out parts-guessing can get expensive fast.
Common mistakes when fixing P018A engine code
A classic mistake I see all the time is folks rushing to replace the fuel pressure sensor without ever checking the wiring or connectors. That’s an easy way to throw money out the window. Another misstep? Skipping over technical service bulletins (TSBs). Sometimes, the manufacturer already knows about a common problem and has a fix ready to go. Also, I can’t count how often I’ve seen people forget to do simple voltage and continuity checks. And don’t overlook corroded or bent pins at the connectors-tiny issues like that can cause giant headaches if you miss them.

Seriousness and risks of P018A trouble code
Take it from me, this isn’t something you want to brush off. A glitch in the fuel pressure sensor circuit can lead to poor running-or even leave you stranded if your car won’t start. If you keep driving with this problem, you’re risking damage not only to the pump and injectors but potentially to the catalytic converter too. I’ve seen folks ignore this code and then end up with much bigger, more expensive repairs. If you see a P018A code, get it checked out right away. Trust me, waiting won’t make it any cheaper or easier to fix.
Repair options for P018A code
Here’s what I usually do to sort out a P018A code:
- Repair or replace any damaged wiring or connectors at the fuel pressure sensor. That’s the first place I look, every time.
- If the sensor itself is faulty, swap it out. Not much sense trying to bandaid a sensor that’s already failed.
- If you find the fuel pump is weak or the filter is clogged, deal with those-sometimes, that’s the root cause.
- Very rarely, if it’s the PCM itself (and you’ve ruled out everything else), you might have to repair or replace the computer. But honestly, that’s usually a last resort.
After any repair, always clear the code and take the car for a good test drive. You want to make sure everything’s fixed and that code doesn’t pop up again.
Conclusion
So, here’s the bottom line: P018A means your car’s computer isn’t happy with what it’s seeing from the fuel pressure sensor circuit. This is one of those issues that can go from a simple nuisance to a full-on headache if you ignore it. From what I’ve seen, most fixes start with a careful inspection of the sensor and wiring-that’s where you’ll find the culprit most of the time. Don’t drag your feet on this one; putting it off can turn a small problem into a major repair bill. Follow a thorough, step-by-step diagnostic process, fix up any wiring problems, and swap out the sensor if needed. That’s the surest way to get your ride back in top shape.