Causes of P2210 trouble code
From experience and what I see in the official repair data, most of the time this code comes down to a few usual suspects. Here’s what I typically find when p2210 shows up:
- Damaged or shorted wiring to the NOx sensor heater circuit (often rubbing or pinched wires)
- Faulty NOx sensor (the heater element inside can fail or short out)
- Corroded or loose electrical connectors at the sensor or along the harness
- Issues with the engine control module (ECM), though this is much less common
In cases like this, it’s usually a wiring issue or a failed sensor, not the ECM itself.
Symptoms of obd2 code P2210
If you’ve got a P2210 code active, here’s what you might notice while driving:
- Check Engine Light will almost always be on
- Possible decrease in fuel efficiency
- Engine may run rough or feel sluggish, especially during warm-up
- Sometimes, you’ll notice increased exhaust odor or even a failed emissions test
Honestly, most folks just see the warning light and don’t notice much else right away, but the underlying problem can cause bigger headaches if ignored.

Diagnosis steps for P2210 engine code
Here’s how I go about diagnosing a P2210, step by step:
- First, I always start by checking the basics-pop the hood and visually inspect the wiring and connectors going to the upstream NOx sensor. Look for any obvious damage, corrosion, or loose connections. Don’t forget to check along the harness for spots where it might rub or get pinched.
- Next, I use a multimeter to check for continuity and shorts to ground on the heater sense circuit. With the ignition off, unplug the sensor and measure resistance between the heater sense pin and ground. If you see a very low resistance (close to zero), that’s a surefire sign of a short.
- If the wiring checks out, I’ll test the sensor itself. Most OEM procedures call for checking the heater element’s resistance-compare your reading to the spec in the service manual. If it’s out of range, the sensor’s likely bad.
- If both the wiring and sensor are good, I’ll check for voltage at the connector with the ignition on. No voltage? Trace back to the ECM and check for issues there, but honestly, it’s rare for the ECM to be at fault.
- It’s better to have someone assist you when checking under the car or working near hot exhaust parts-safety first!
Common Mistakes with obd code P2210
I’ve seen a few common missteps with this code. One big one is replacing the NOx sensor right away without checking the wiring-sometimes it’s just a broken or shorted wire. Another mistake is skipping the connector inspection; corrosion or a loose pin can cause all sorts of trouble. Also, don’t forget to check for Technical Service Bulletins (TSBs)-sometimes there’s an updated harness or connector that solves the problem for good. Rushing through the basics can lead to wasted time and money.

Seriousness of dtc P2210
This isn’t something you want to ignore. The NOx sensor heater is vital for emissions control and engine performance. If you let this slide, you risk damaging the catalytic converter, which is a pricey fix. Plus, your car could fail an emissions test, and in some cases, you might notice rough running or poor fuel economy. Things can go south quickly if overlooked, so don’t put this off for later-get it checked out as soon as possible.
Repair solutions for P2210
Here’s what usually fixes a P2210, based on verified repair cases and OEM procedures:
- Repair or replace any damaged wiring or connectors in the NOx sensor heater circuit
- Replace the upstream NOx sensor if the heater element is faulty
- Clean and secure all electrical connections to ensure good contact
- In rare cases, address ECM issues if all else checks out (but this is almost never the root cause)
After repairs, always clear the code and take the car for a test drive to make sure it doesn’t come back.


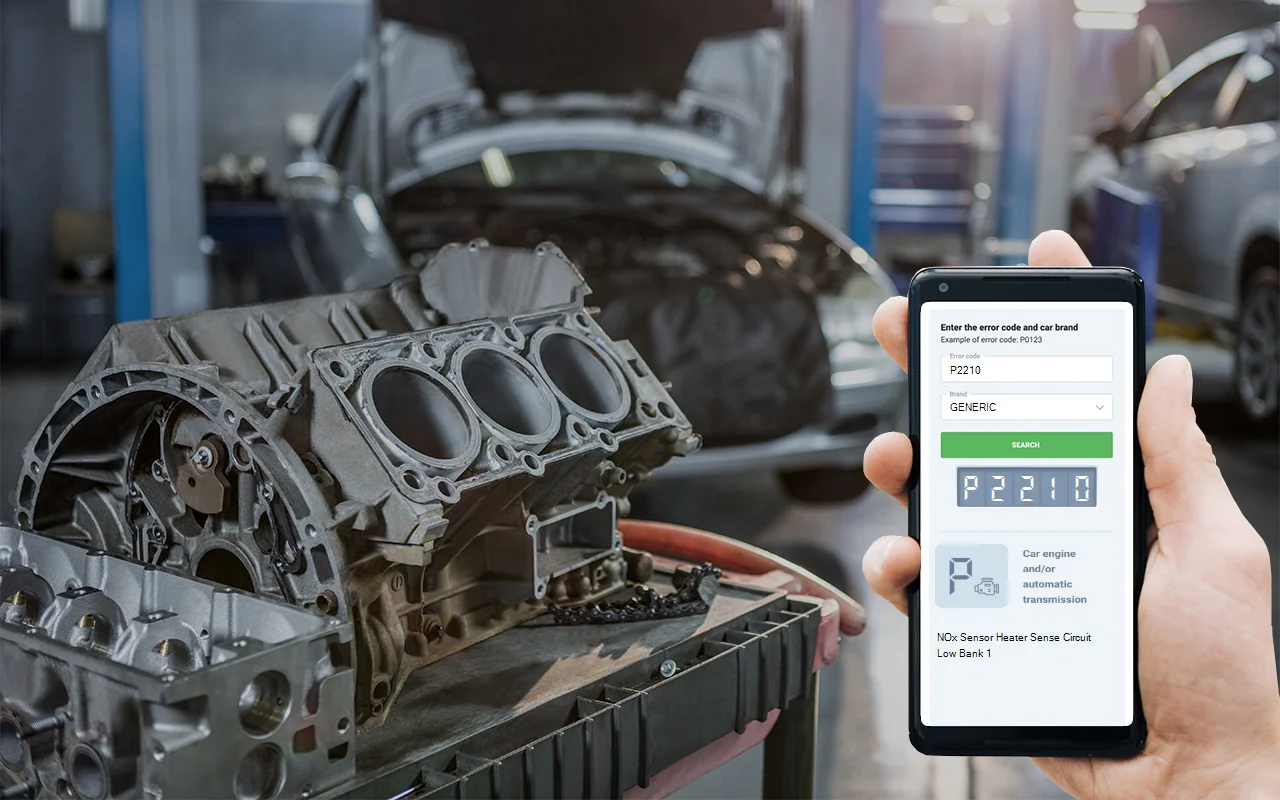
Conclusion
To sum it up, P2210 means your car’s NOx sensor heater circuit isn’t working right-usually due to a short to ground. This is a moderate-to-high priority issue because it affects emissions, fuel economy, and can lead to expensive repairs if ignored. The most reliable way to fix it is to start with a careful inspection of the wiring and connectors, then test the sensor itself, and only move on to more complex possibilities if needed. Don’t wait on this one-it’s best to get it sorted before it leads to bigger problems down the road.