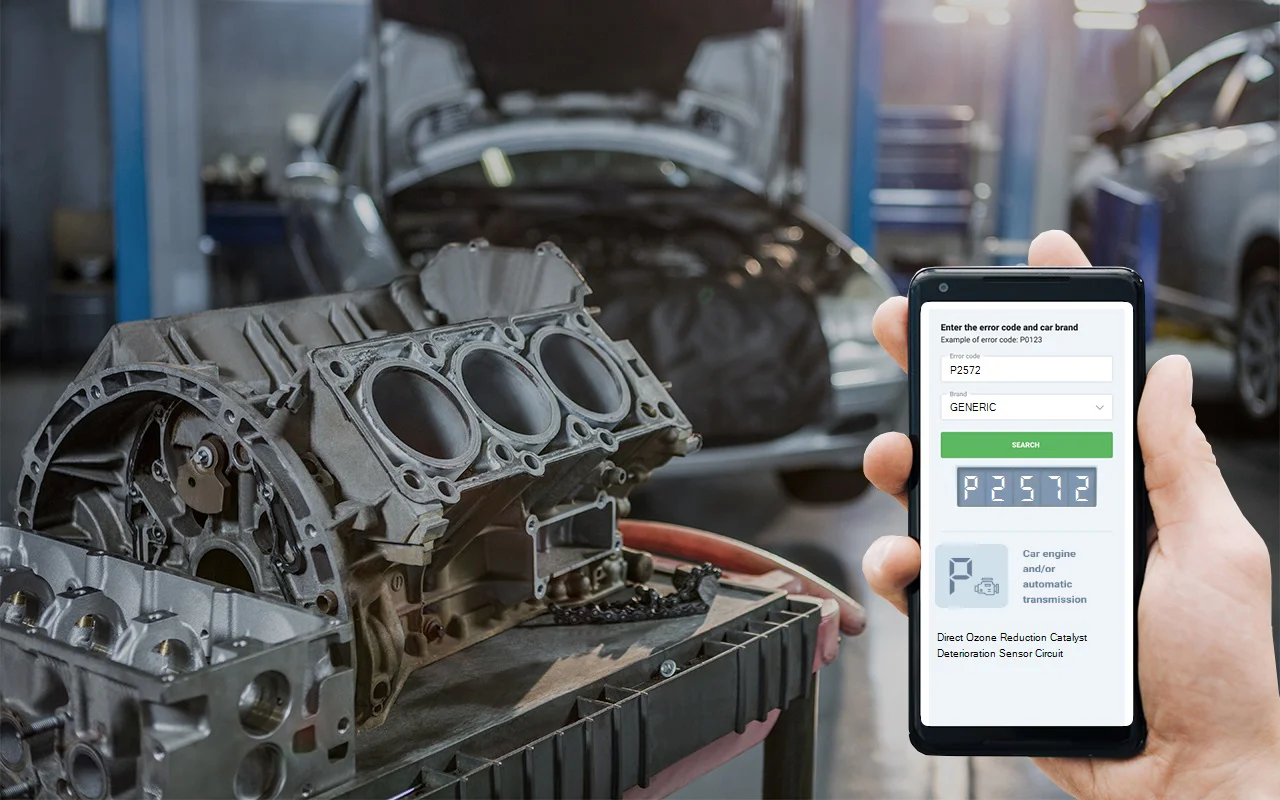
Causes and P2572 code troubleshooting
From my time in the shop, the causes behind a P2572 code are usually pretty straightforward-though folks sometimes overlook the basics. Nine times out of ten, the culprit is either a failed ozone catalyst deterioration sensor or an issue with the wiring leading to it. I can't tell you how many times I've found a frayed wire rubbing against a hot exhaust or a connector packed with dirt and corrosion. Sometimes a pin gets bent or pushed back in the connector, breaking the connection. Here’s what I always check first when chasing this code:
- Faulty ozone catalyst deterioration sensor (very common)
- Open, shorted, or damaged wiring harness between the sensor and the computer
- Poor or loose electrical connection at the sensor or its plug
- Corroded, bent, or pushed-out connector pins
Symptoms associated with obd2 code P2572
The first thing that'll tip you off to P2572 is that dreaded check engine light glaring at you from the dash. Outside of that, you might not notice anything else out of the ordinary. No rough running, no loss of power, and no weird smells-just that light. But don't let the lack of drivability issues trick you. In my experience, ignoring it can lead to bigger headaches, especially when it comes to emissions and future repairs.

Diagnosis process for P2572 engine code
If you brought your car to me with a P2572, here's exactly how I'd tackle it. First, pop the hood and give the sensor's wiring and connectors a thorough visual check. Look for cracked insulation, melted wiring, or connectors that aren't fully seated. Sometimes, just wiggling the harness while watching the check engine light (or scanning for live data) will reveal an intermittent connection. Unplug the sensor and inspect the terminals inside-green corrosion or a pin that's not lined up right can be a dead giveaway. From there, I'll grab my multimeter and check continuity between the sensor and the computer, making sure there's no short to ground or power where it shouldn't be. If everything checks out on the wiring front, I'll swap in a known-good sensor if I have one on hand, or bench-test the old one if possible. Remember to clear the code after each step and see if it returns on a test drive. That way, you know for sure what's fixed it-no guessing or unnecessary parts swaps.
Common mistakes when fixing dtc P2572
A classic mistake I see: folks throw a brand-new sensor at the problem without even glancing at the wiring or connectors first. It's tempting, but you'd be surprised how often the issue is just a dirty plug or a bent pin. Another blunder? Clearing the code and hoping it'll magically stay gone. Trust me, if you haven't fixed the root issue, that light will be back before you know it. My advice? Start simple-inspect and clean every connection before you drop money on parts.

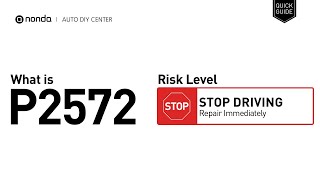
Seriousness of P2572 issues
Let me be honest-while your car might seem to run just fine with a P2572 code, this is not something to brush off. The real danger is under the surface: your car's emissions system is flying blind, and you could be pumping out more pollution than you realize. If the catalyst is actually failing and the code's ignored, you could end up with a much bigger repair bill. And if you're due for an emissions test, this code is an automatic fail. I've seen folks delay, only to regret it later when the problem snowballs.
Repair steps for P2572 trouble code
Here's the repair routine that's saved my customers time and money over the years:
- Start by repairing or replacing any damaged wiring or connectors at the ozone catalyst deterioration sensor
- Clean out any corrosion in the connector, and double-check the pins are straight and locked in place
- If the wiring and connections are spotless and the problem remains, swap in a new sensor
- Clear the code and take the car for a test drive to confirm the fix

Conclusion
If you've got a P2572, your car's computer can't trust the reading from the ozone catalyst deterioration sensor-and that's bad news for your emissions system. Even if your ride feels perfectly normal, don't ignore this one. Give those wires and connectors a close look, then move to the sensor if needed. Fix it now, and you'll dodge bigger, more expensive troubles later-not to mention stay on the right side of the law. And if electrical diagnosis isn't your thing, don't be afraid to call in a pro. This is no place for guesswork or shortcuts.